
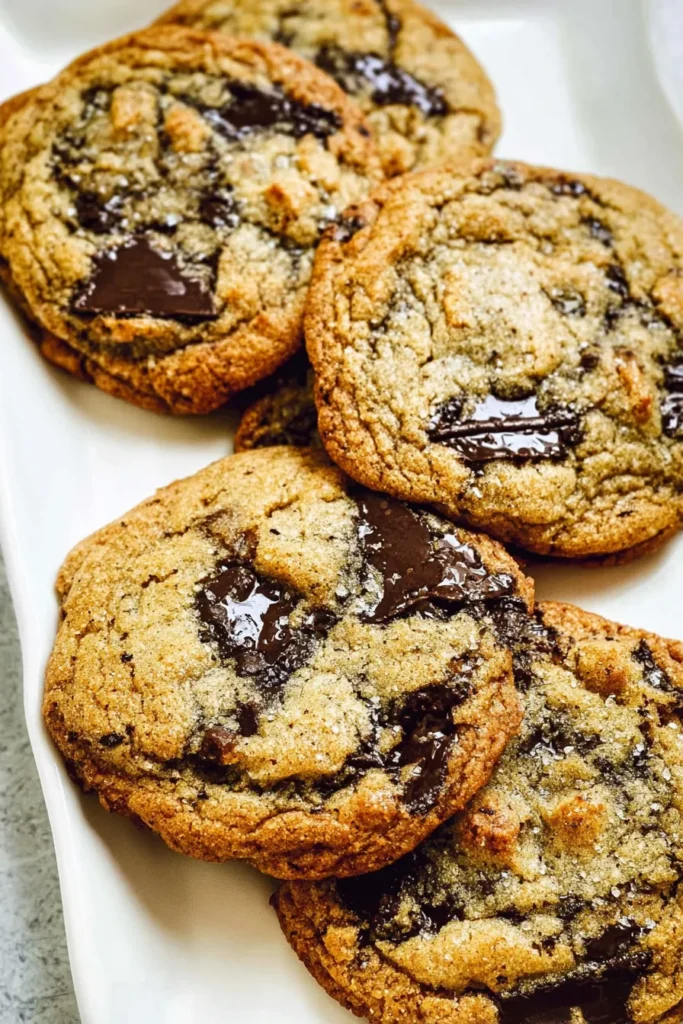
Welcome to my kitchen. Pull up a chair, because today we’re making something seriously good. These chewy gooey sourdough chocolate chip cookies have been tested more times than I can count. Crispy edges. Soft, melty center. Complex, bakery-level flavor in every single bite.
That’s the goal. And this recipe gets you there.
The best part? You don’t need a stand mixer. No fancy equipment. Just a bowl, a whisk, and a little patience.
Why Most Cookie Recipes Fall Short
Finding the right texture balance is harder than it looks. So many recipes turn out:
- Too cakey and puffy
- Flat and dry
- Totally bland
I wanted something different. Something that actually tastes like it came from a real bakery. After a lot of trial and error, this is the recipe I keep coming back to.
The Star Ingredient: Sourdough Discard
Hear me out. I know sourdough discard sounds strange in a sweet cookie. But stick with me.
The discard does two things really well. First, it adds moisture. Second, it brings a subtle savory undertone that makes the chocolate taste deeper and the vanilla more pronounced. Your cookies won’t taste sour. Not even a little.
One thing to keep in mind though: use discard that’s less than five days old. Older starter gets sharp and pungent. That’s great for bread. Not so great for cookies.
Brown Your Butter. Non-Negotiable.
We’re not just melting the butter here. We’re browning it.
This one step changes everything. As the butter cooks, the milk solids toast in the pan. What you get is this deep, nutty, almost caramel-like aroma baked right into the dough. It takes a standard homemade cookie and pushes it firmly into bakery territory.
Intimidating? Only the first time. After that, it’s just a saucepan and five minutes of your life.
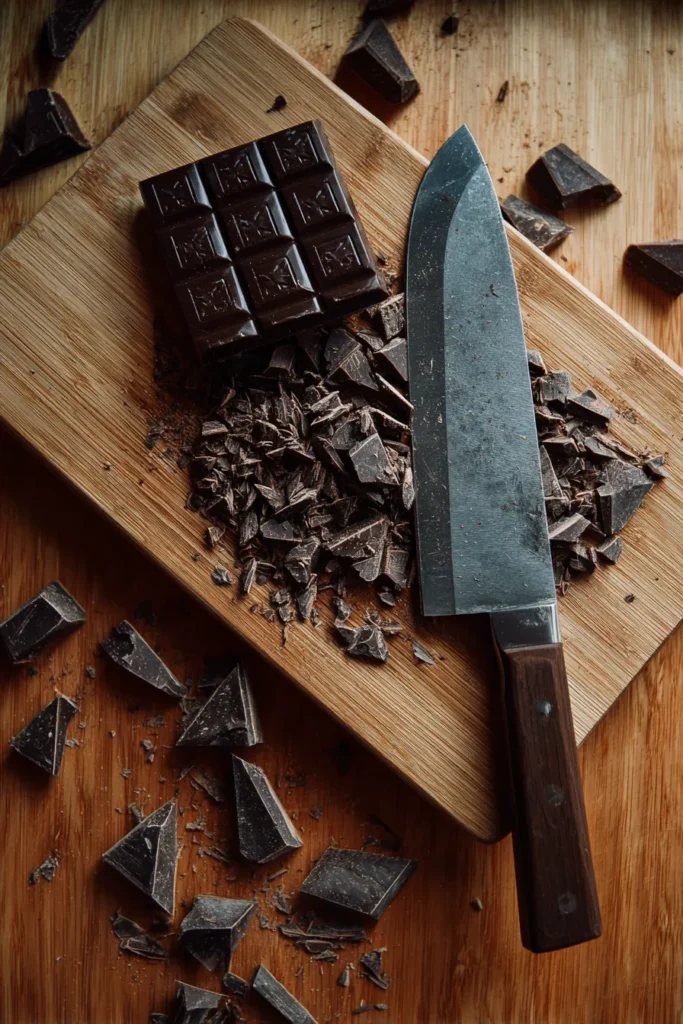
Chocolate Bar vs. Chocolate Chips
This is where a lot of home bakers make a quiet mistake.
Store-bought chocolate chips are designed to hold their shape. They contain emulsifiers that stop them from fully melting. The result? Thicker, chunkier cookies with less chocolate spread throughout.
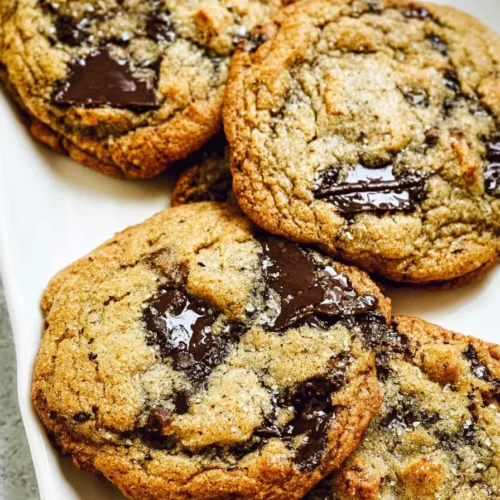
A chopped chocolate bar behaves completely differently. In the oven, those irregular pieces melt into big, luxurious pockets. Some bites hit a massive chocolate chunk. Others catch a thin, delicate chocolate ribbon. It creates a visual and textural variety that chips simply can’t match.
Chop it by hand. Uneven pieces are actually what you want.
Ready? Let’s bake.
Step-by-Step Recipe Guide
Weigh your ingredients if you can. Baking is a science. A kitchen scale takes the guesswork out entirely.
Recipe Timing: Prep Time: 20 minutes | Cook Time: 12 minutes | Total Time: 32 minutes (plus chill time) | Servings: 14 to 16 cookies | Difficulty: Easy
Ingredients
| Ingredient | Quantity | Notes |
|---|---|---|
| Unsalted butter | 113 grams (8 tbsp) | Will be browned on the stove |
| Brown sugar | 160 grams | Pack firmly if using volume measurements |
| Granulated sugar | 140 grams | Adds crispness to the cookie edges |
| Large egg | 1 | Room temperature is highly preferred |
| Sourdough discard | 80 grams | Room temperature. Less than 5 days old |
| Pure vanilla extract | 3/4 tablespoon | Use high-quality extract for best flavor |
| All-purpose flour | 235 grams | Spoon and level if measuring by volume |
| Baking soda | 1/2 teaspoon | Helps the cookies spread properly |
| Baking powder | 1/2 teaspoon | Gives a slight lift to the dough |
| Fine salt | 3/4 teaspoon | Balances the sweetness of the sugars |
| Dark/semisweet chocolate | 6 ounces | Chopped from a bar. Chips work with texture changes |
| Flaky salt | Optional | For sprinkling on top after baking |
Instructions
Step 1: Brown the Butter
Place your unsalted butter into a medium, light-colored saucepan. A light pan matters here because you need to see the color change happening. Set your stove to medium heat.
The butter will melt, then bubble loudly, then go foamy. Keep swirling the pan. Watch closely during that foamy stage. You’ll see little brown flecks forming at the bottom. That nutty smell? That’s the good stuff.
Pull the pan off the heat immediately. Pour the browned butter into a large mixing bowl and let it cool for about ten minutes.
Step 2: Whisk the Wet Ingredients
Add both sugars to the slightly cooled butter. Whisk vigorously until fully combined. It might look a bit grainy at this point. That’s completely fine.
Add your room-temperature egg and vanilla extract. Whisk well until the mixture lightens in color. Then pour in your sourdough discard. Gently whisk until the batter is smooth and glossy.
Step 3: Combine the Dry Ingredients
You can mix your flour, baking soda, baking powder, and salt in a separate bowl. Personally, I add them straight into the wet bowl. Fewer dishes. Same result.
Pour the dry ingredients over the batter. Use a rubber spatula to fold everything together. Stop when you just stop seeing flour streaks.
Overmixing is the enemy here. It develops gluten and makes the cookies tough. We want chewy. Not bread.
Step 4: Fold in the Chocolate
Add all your chopped chocolate, including the fine chocolate dust, into the bowl. Fold gently with your spatula until the pieces are evenly spread through the dough.

Step 5: Chill the Dough
Don’t skip this step.
Cover the bowl tightly with plastic wrap and refrigerate for at least 30 minutes. Chilling does two things:
- It lets the flour fully hydrate
- It firms up the butter so the cookies don’t spread too thin
Want even better flavor? Leave the dough in the fridge for a full 24 hours. The sourdough notes develop beautifully overnight. The difference is noticeable.
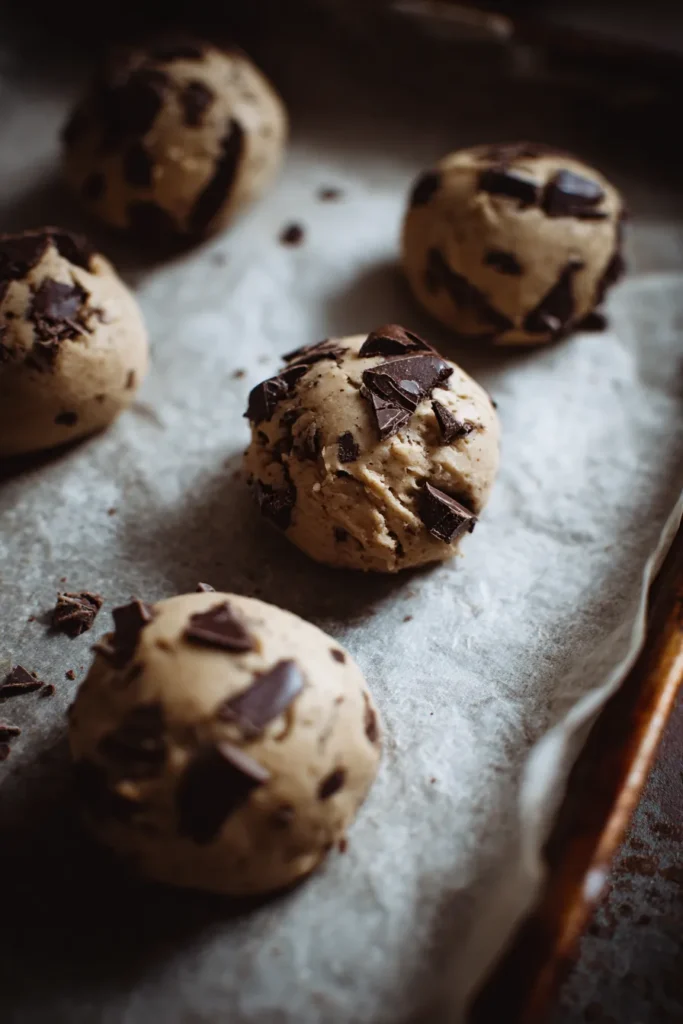
Step 6: Scoop and Bake
Preheat your oven to 350 degrees Fahrenheit. Line two large baking sheets with parchment paper.
Scoop the chilled dough using a large cookie scoop. Space the balls about two inches apart. Bake on the center rack for 11 to 13 minutes.
Pull them out when the edges look golden brown. The centers will still look underbaked. That’s intentional. That’s the goal.
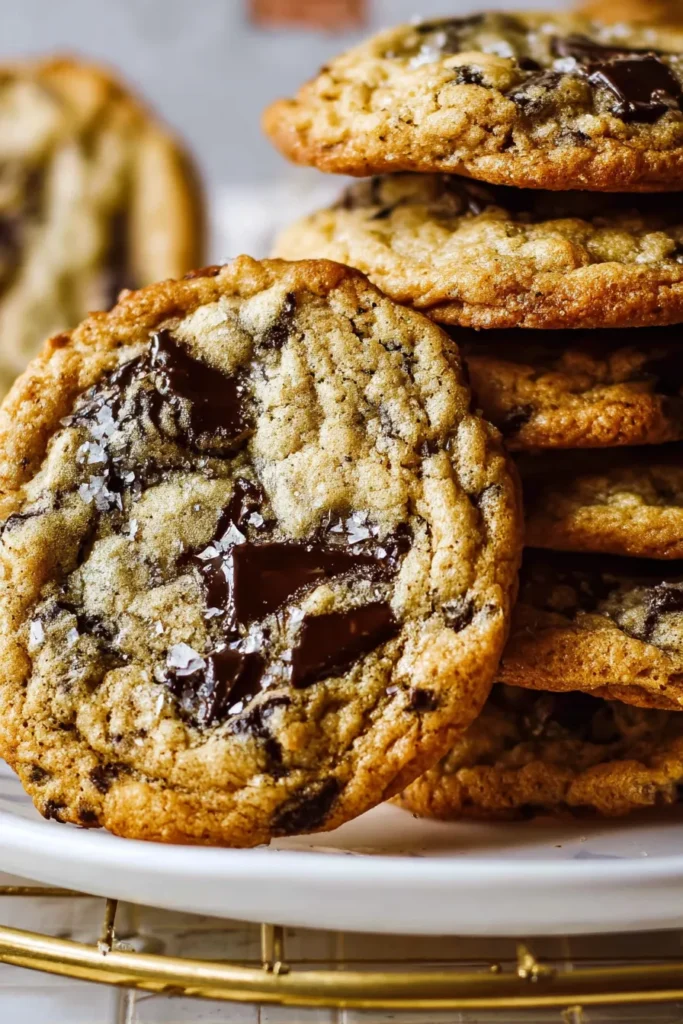
Step 7: Cool and Garnish
Leave the cookies on the hot baking sheet for ten minutes. They keep cooking as they sit there. This is what sets those crispy edges while keeping the center gloriously gooey.
Sprinkle with flaky salt if you’d like. Then transfer to a wire rack to cool completely.
Troubleshooting and FAQs
Even with a solid recipe, baking can throw surprises at you. Ovens vary. Kitchen temperatures change. Here are the questions I get asked most often.
Can I use active sourdough starter instead of discard?
Absolutely. Active, bubbly starter works just as well here. Same hydration, same flavor complexity. Just stir it down before measuring so you get an accurate weight in grams.
What if I use chocolate chips instead of a chopped bar?
Your cookies will still taste good. But expect a different result. Chips contain stabilizers that prevent full melting. The cookies will bake up thicker and puffier, with less of those dramatic chocolate pools. The look will be more uniform. More traditional. Less wow.
Why did my cookies spread completely flat?
Two likely culprits:
- Your browned butter was too hot. Hot butter melts the sugars instantly and causes spreading before the cookies set. Let it cool for the full ten minutes before mixing.
- You skipped chilling. Cold dough takes longer to spread in the oven. That extra time gives the cookies structure. Never skip the chill.
Can I freeze the dough?
Yes, and I highly recommend it. Scoop the dough into balls, freeze them on a baking sheet for one hour, then transfer to a freezer bag. Bake straight from frozen later. Just add one or two extra minutes to the baking time.
How long do these cookies stay fresh?
Longer than most. The sourdough discard helps them hold moisture really well. Store cooled cookies in an airtight container at room temperature and they’ll stay soft and chewy for up to four days.
Want a warm cookie on day three? Ten seconds in the microwave brings that gooey center right back.
There’s something genuinely satisfying about pulling a tray of these out of the oven. Crispy edges. Molten chocolate. That hint of depth from the browned butter and sourdough. Made completely from scratch.
Happy baking.
Chewy Sourdough Chocolate Chip Cookies
Ingredients
- 113 grams unsalted butter Will be browned on the stove
- 160 grams brown sugar Pack firmly if using volume measurements
- 140 grams granulated sugar Adds crispness to the cookie edges
- 1 large egg Room temperature is highly preferred
- 80 grams sourdough discard Room temperature. Less than 5 days old
- 3/4 tbsp pure vanilla extract Use high-quality extract for best flavor
- 235 grams all-purpose flour Spoon and level if measuring by volume
- 1/2 tsp baking soda Helps the cookies spread properly
- 1/2 tsp baking powder Gives a slight lift to the dough
- 3/4 tsp fine salt Balances the sweetness of the sugars
- 6 ounces dark/semisweet chocolate Chopped from a bar. Chips work with texture changes
- flaky salt Optional. For sprinkling on top after baking
Instructions
- Brown the Butter: Place unsalted butter into a medium, light-colored saucepan over medium heat. Keep swirling the pan as it melts, bubbles, and foams. Watch closely until brown flecks form at the bottom and it smells nutty. Remove from heat immediately and pour into a large bowl. Let cool for 10 minutes.
- Whisk the Wet Ingredients: Add both sugars to the slightly cooled butter and whisk vigorously until combined. Add the egg and vanilla extract, whisking until the mixture lightens. Pour in the sourdough discard and whisk gently until smooth and glossy.
- Combine Dry Ingredients: Add the flour, baking soda, baking powder, and salt directly into the wet bowl. Use a rubber spatula to fold everything together just until you stop seeing flour streaks. Do not overmix.
- Fold in the Chocolate: Add all the chopped chocolate (including the fine dust) into the bowl. Fold gently until evenly distributed throughout the dough.
- Chill the Dough: Cover the bowl tightly with plastic wrap and refrigerate for at least 30 minutes (or up to 24 hours for deeper flavor). Do not skip this step!
- Scoop and Bake: Preheat oven to 350 degrees Fahrenheit. Line two baking sheets with parchment paper. Scoop dough using a large cookie scoop, spacing 2 inches apart. Bake on center rack for 11 to 13 minutes until edges are golden brown (centers should look underbaked).
- Cool and Garnish: Leave cookies on the hot baking sheet for 10 minutes to finish setting the edges. Sprinkle with flaky salt if desired, then transfer to a wire rack to cool completely.
Notes
Freezing: Scoop the dough into balls, freeze on a baking sheet for an hour, then transfer to a freezer bag. Bake straight from frozen, adding 1-2 minutes to the bake time.
Storage: Store cooled cookies in an airtight container at room temperature for up to 4 days. Microwave for 10 seconds to refresh the gooey center.